
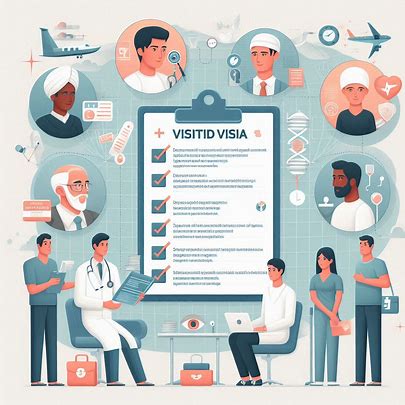
Traveling abroad can be exciting, but before you book your flight and pack your bags, one of the most important steps is getting a visit visa. Whether you’re planning a vacation, visiting friends or family, or attending a short event, having the right visa is essential for smooth entry into your destination country.
The visit visa application process can vary from country to country, but the general steps remain similar. Below is a step-by-step guide to help you navigate the process and improve your chances of approval.
Step 1: Determine the Type of Visit Visa You Need
Not all visit visas are the same. You need to select the correct visa based on your purpose of visit. Common types include:
-
Tourist Visa – for sightseeing, leisure travel, or vacations
-
Family or Friend Visit Visa – for visiting relatives or friends
-
Business Visit Visa – for attending short meetings, conferences, or trade events
-
Medical Visit Visa – for receiving short-term medical treatment abroad
Carefully read the visa category descriptions on the destination country’s embassy or immigration website.
If you need an explanation on writing your CV, Cover Letter and Email Template or help applying speak to Happy Face
Step 2: Check Your Eligibility
Before applying, review the eligibility requirements, which may include:
-
A valid passport with enough validity (usually 6 months or more)
-
Sufficient financial means to support your stay
-
Strong ties to your home country (like a job, business, or family)
-
Clean travel history
-
Health or travel insurance (in some countries)
Some countries have visa exemptions or allow certain passport holders to enter without a visa, so double-check if you need one.
Step 3: Gather Required Documents
Most visit visa applications require the following documents:
-
Completed visa application form (online or paper)
-
Passport-size photographs as per specification
-
Valid passport with blank visa pages
-
Proof of funds (bank statements, pay slips, sponsor letter)
-
Travel itinerary (flight bookings, hotel reservations)
-
Invitation letter (if visiting someone)
-
Travel insurance (if required)
-
Employment or business documents (letter from employer or business registration)
Always verify with the official embassy website for country-specific requirements.
Step 4: Submit the Application
Depending on the country, you can submit your visa application through:
-
An online visa portal (e.g., eVisa or eTA system)
-
The local consulate or embassy
-
An approved visa application center (e.g., VFS Global, TLScontact)
-
A travel agency or visa consultant (for guided assistance)
Online applications often require scanned uploads of documents and digital payment of fees.
If you need an explanation on writing your CV, Cover Letter and Email Template or help applying speak to Happy Face
Step 5: Pay the Visa Fee
Each country sets its own visa fees, which must be paid during or after submission. Payment methods may include:
-
Online payment (credit/debit card)
-
Bank transfers or cash deposits
-
Payment at the visa application center
Some visas (especially group or multiple-entry) may have higher fees, and there may also be service charges if using a third-party center.
Step 6: Schedule and Attend Biometrics or Interviews (if required)
Some embassies or visa centers may require you to:
-
Submit biometrics (fingerprints and photos)
-
Attend a short interview to verify your travel intent
-
Provide additional documents upon request
Not all applicants are called for interviews — it depends on the visa type, your travel history, and nationality.
Step 7: Track Your Application
Once submitted, you can track your application status:
-
Via online tracking systems provided by embassies or visa centers
-
Through email or SMS updates (if enabled)
-
By calling the consulate or checking in-person
Processing times vary: some visas are approved in a few days, while others take 2–4 weeks or more.
If you need an explanation on writing your CV, Cover Letter and Email Template or help applying speak to Happy Face
Step 8: Receive and Review Your Visa
Once approved, your visa may be:
-
Stamped in your passport
-
Delivered via email (for eVisas)
-
Collected in-person or mailed back to you
Check all details: entry/exit dates, number of entries, passport number, and visa validity. If there are errors, report them immediately.
Step 9: Prepare for Travel
After getting your visa:
-
Book your flight tickets
-
Print copies of your visa and travel documents
-
Pack according to the entry rules (medicine, currency, etc.)
-
Understand customs and immigration procedures at the airport
-
Make sure your return ticket and accommodation bookings are handy
If you need an explanation on writing your CV, Cover Letter and Email Template or help applying speak to Happy Face
Disclaimer


